Course · Part 3 · Assignment 3
Practise ![]()
Learn the Basics of Figma
![]() Time estimate: 1 hour
Time estimate: 1 hour
Unusually, this assignment has a time estimate and not a time limit.
Take whatever time you need to get comfortable with the functions covered.
Explanation
In this assignment, you’ll complete some tasks that will help you learn Figma. Take your time, and feel free to explore the interface a bit, too.
Instructions
Listed below are a set of simple tasks to complete in Figma. Simply work through them, one by one!
If you’ve not created a Figma account yet, head to figma.com and sign up. Figma can be used directly within your web browser, or you can download the free desktop app .
One quick note: to exit any tool in Figma and return to the “move” tool, you can just press escape or V on your keyboard. Alternatively, you can click the mouse-pointer icon in the toolbar at the top-left of your screen.
Create a new Figma project
- Head to figma.com and sign in to your account.
- If you’re signing in for the first time, Figma will take you straight to a new file, which you can use for this exercise. If you’ve logged in previously, Figma will show you your recent files. If you’re on that screen, click the + arrow in the top-right to create a new file.
- When your new Figma file has loaded, click “Untitled” at the top of the screen, and give it a better name.
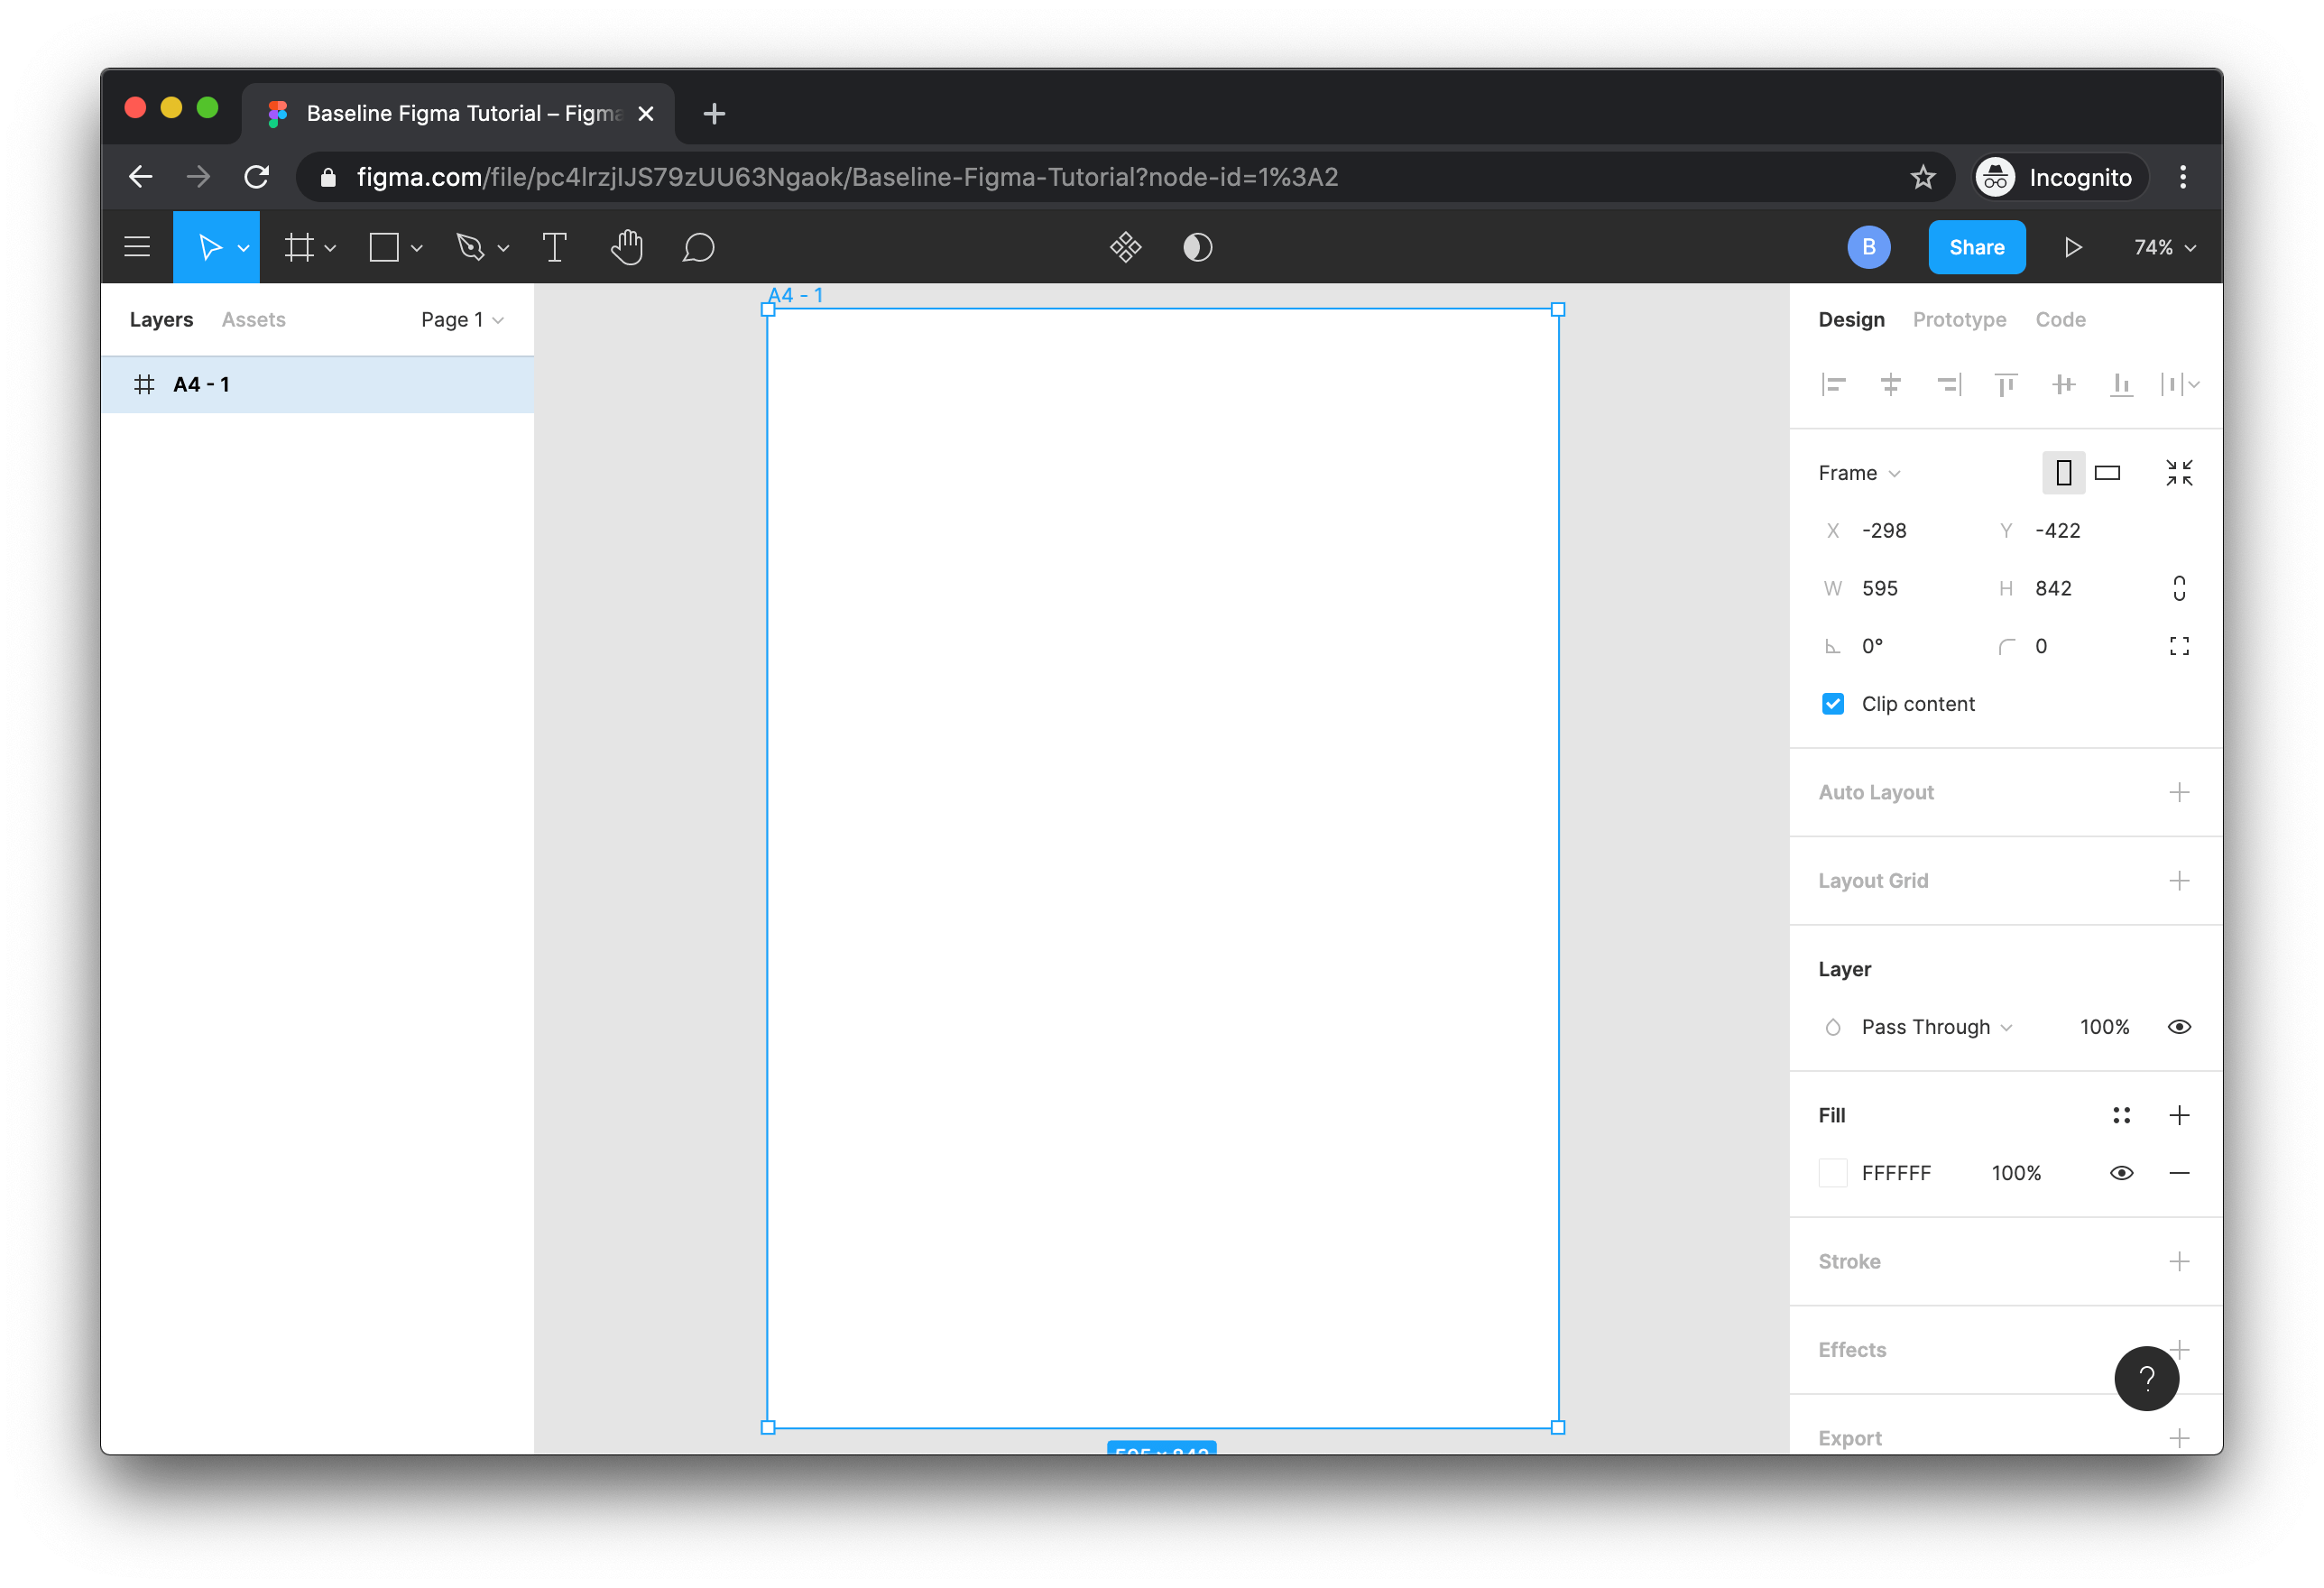
- Click the symbol near the top-left of the screen that looks like a hashtag. This selects the Frame tool. Alternatively, you can press F on the keyboard.

- Finally, from the options on the right of your screen, click “Paper” and then “A4”. You now have a new frame to work in. (If you’ve used Sketch or Illustrator before, a frame is basically the same as an artboard.)
Try out the shape tools
- Find and click the button for the shape tools in the toolbar at the top of your screen. You can also use your keyboard to access these directly: R for rectangle, L for line, shift L for arrow, and O for ellipse (oval).
- Try creating some shapes in your A4 frame using the rectangle, line, arrow, and ellipse tools.
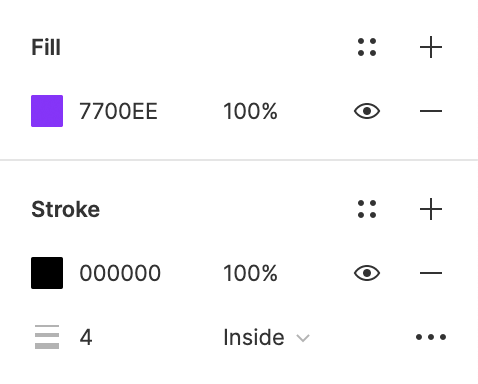
- With a shape selected, experiment with the fill and stroke settings in the panel on the right of your screen.
Try out the text tool
- Find and click the button for the text tool in the toolbar at the top of your screen. Alternatively, you can just press T on your keyboard.
- Try creating a text box and typing in some text.
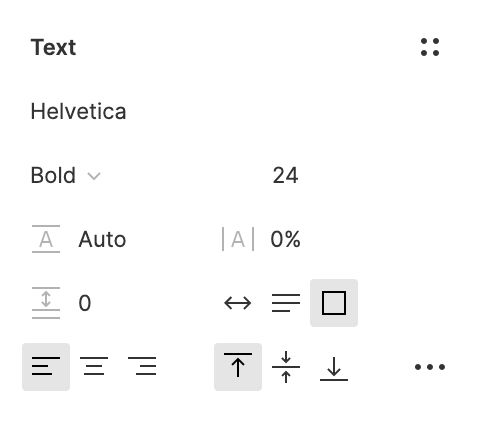
- With a text box selected (or some text within that box selected), experiment with selecting different fonts, font styles, and font sizes, again using the panel on the right of your screen.
Experiment with Boolean groups
These sound scarier than they are! In Figma, you can use Boolean groups to unite two shapes, subtract one shape from another, create a new shape from the area where two shapes intersect, and exclude an area of overlap between two shapes.
Boolean groups are very useful, because they allow us to build complex shapes out of simple ones. This is particularly handy when making logos, icons, and illustrations.
Let’s start with the subtract command.
- Create two shapes, and then click and drag one of them so that it partly overlaps the other. Make sure that each shape has a different fill colour, so that you can see what is happening.

- Next, click and drag around both shapes so that they are both selected. You’ll be able to check this in the panel on the left of the screen.
- With those two shapes selected, notice that some new options have popped up in the top centre of the toolbar. Click the little dropdown arrow to the right of the third button.

- Click “subtract selection” from the dropdown menu. Notice how the top shape has been “subtracted” from the shape below it, and Figma has created a new shape in their place. This new shape shows up as a layer called “Subtract” in the panel on the left of your screen.

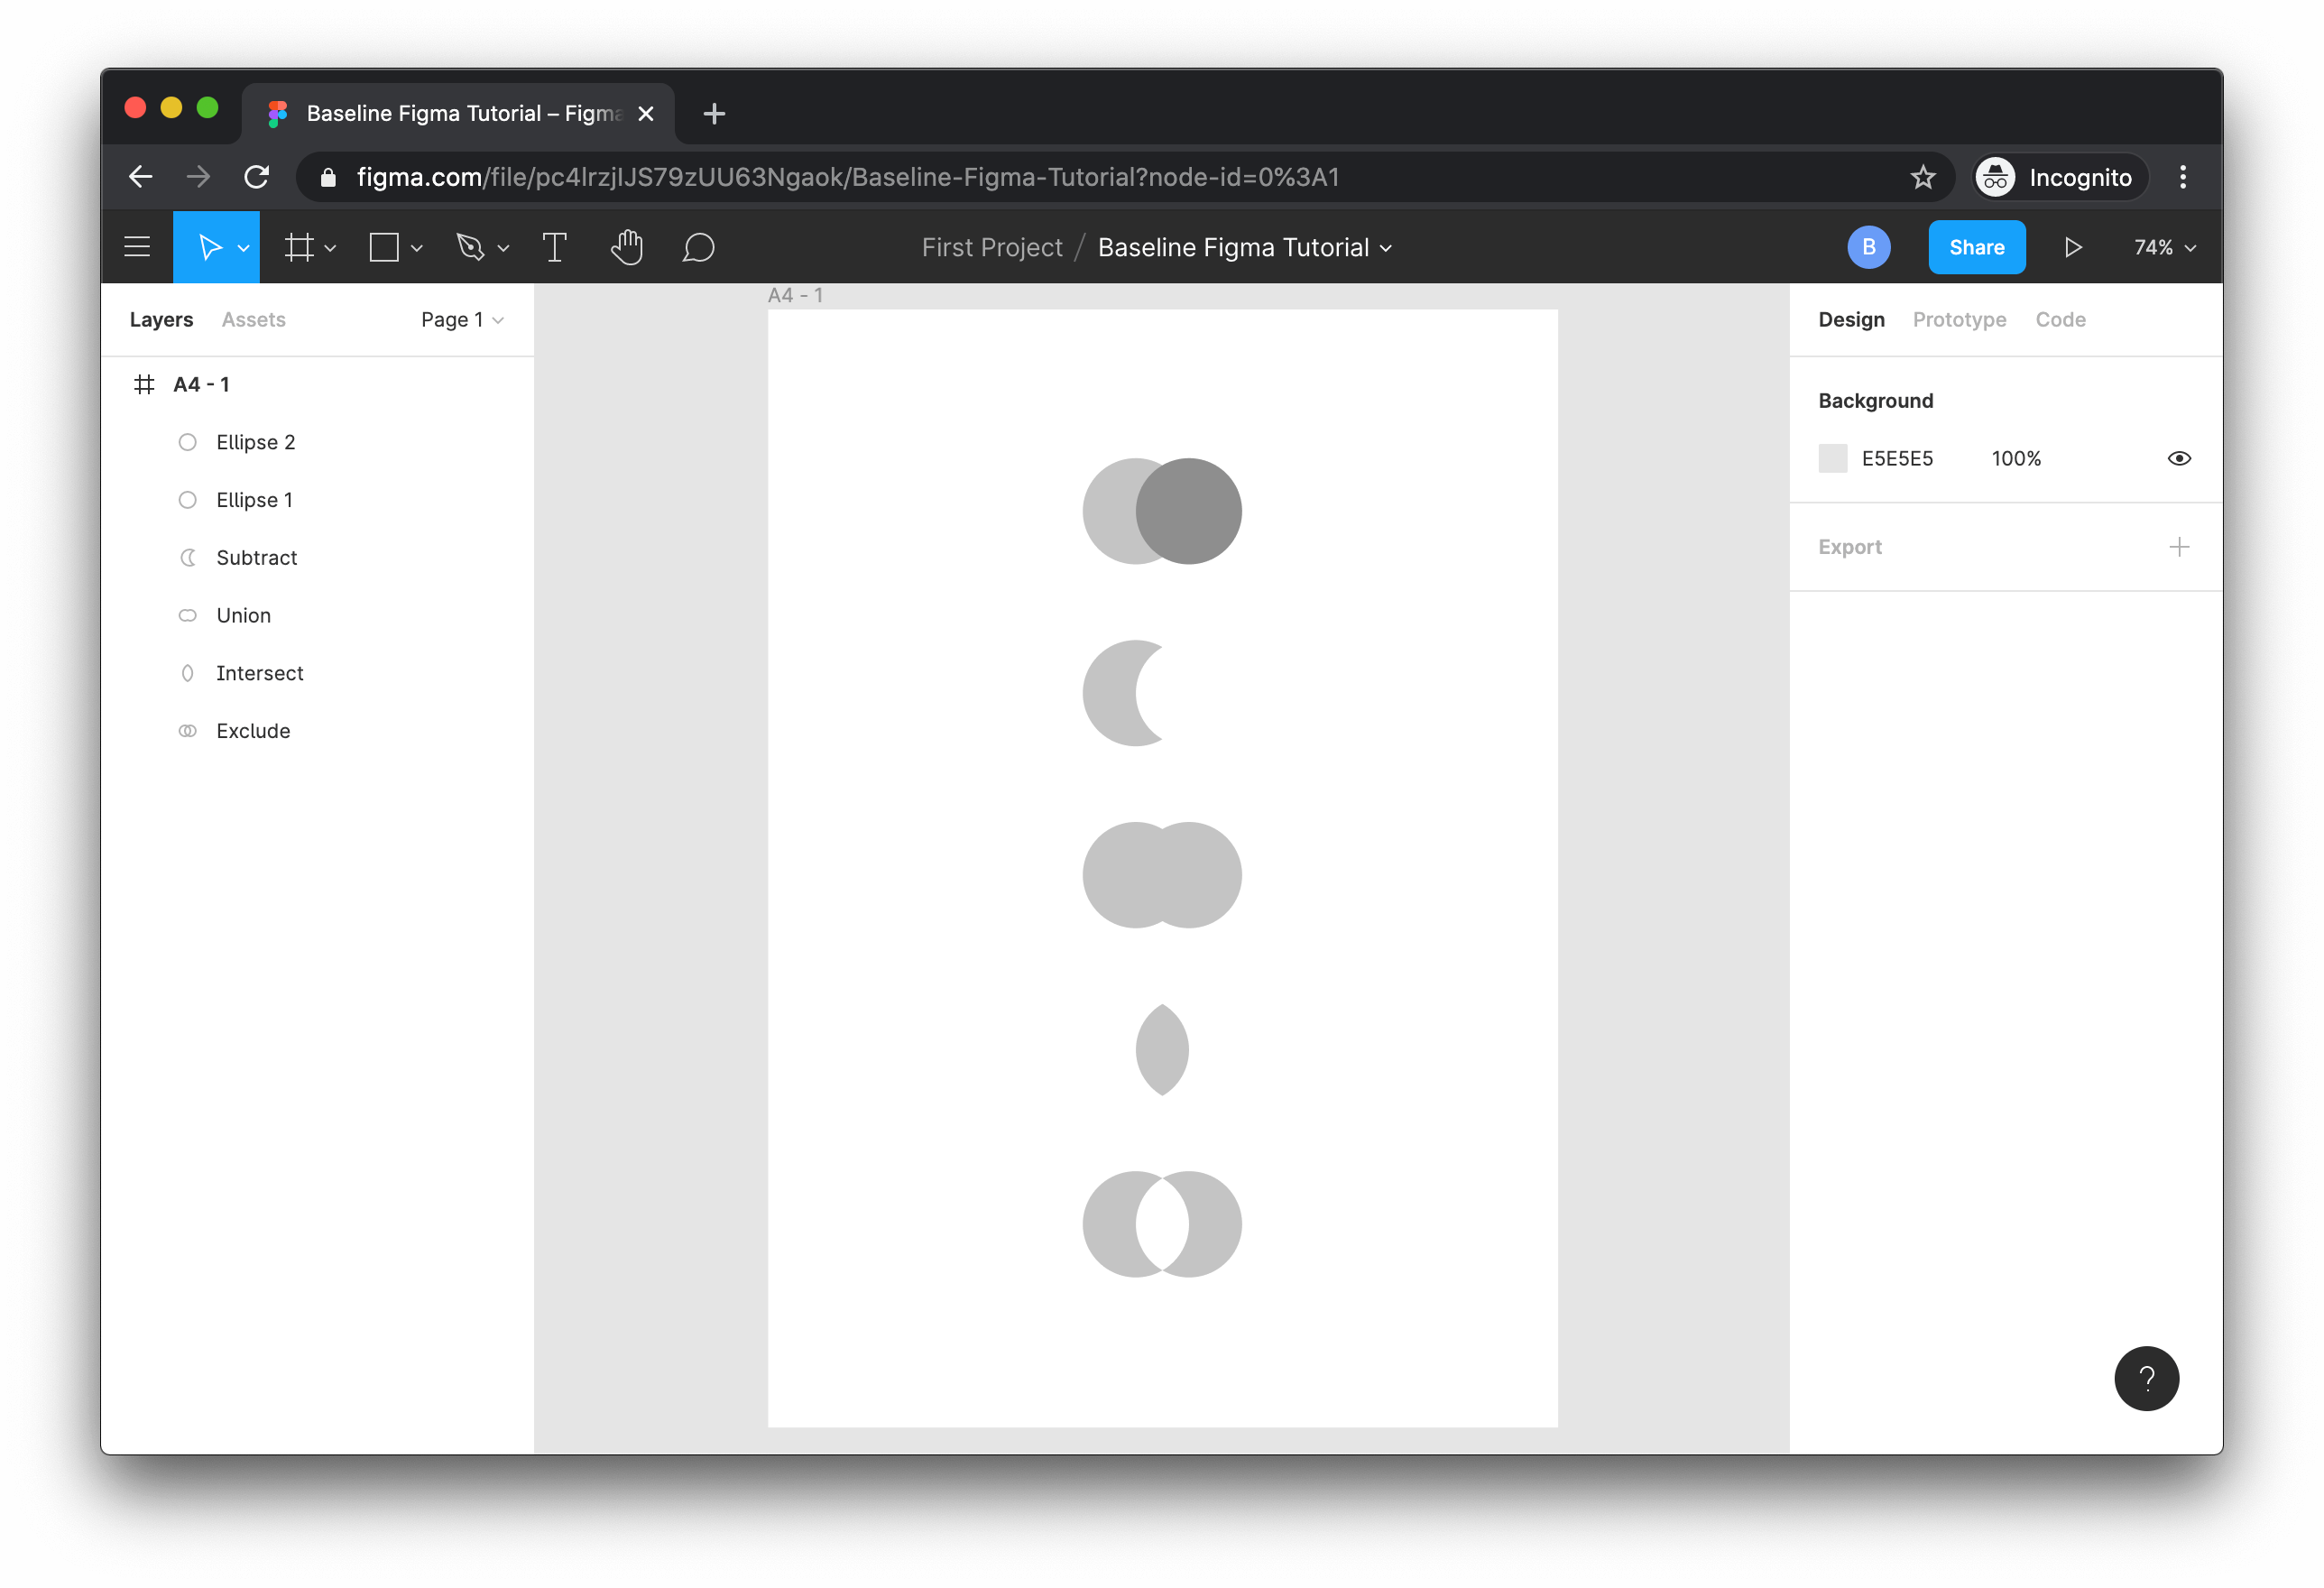
(You can rename the new layer by selecting it in that panel and then clicking it again, or simply by selecting it and pressing command R (Mac) or control R (PC) - Repeat this task with different overlapping shapes, and using the other Boolean commands: unite, intersect, and exclude. Here’s our end result:
In conclusion...
If you have time to spare, use it to experiment with anything else you find in Figma. Don’t worry that there are things you don’t understand — we will cover more Figma features and techniques throughout the course, as and when we need them.
In the next assignment, let’s put your new Figma knowledge to use by digitising the flyer design you sketched in Part 2!