Course · Part 5 · Assignment 6
Read ![]()
How to Design a Logo
KeyThree
The key points from this assignment.
- Be guided by principles of simplicity, memorability, and abstraction
- Ensure the logo has a connection to the wider brand, but avoid being too literal
- Explore as many different ideas and variations as possible
Image credit: Katherine Kromberg
Introduction
In this assignment, we’ll first debunk some widespread myths about logos. Then, we’ll run through a five-step logo design process that can help you get started with your own branding projects!
Three myths about logos
Myth 1: A logo needs to reflect what the business does.

The Apple logo. Image credit: Apple
While a logo can literally reflect the product or service a brand offers, it doesn’t need to — and a logo is often more memorable if it doesn’t.
An apple, for example, doesn’t have any relation to smartphones or laptop computers, but it’s been a successful logo for Apple for over 40 years.
Myth 2: A logo needs to be unique.
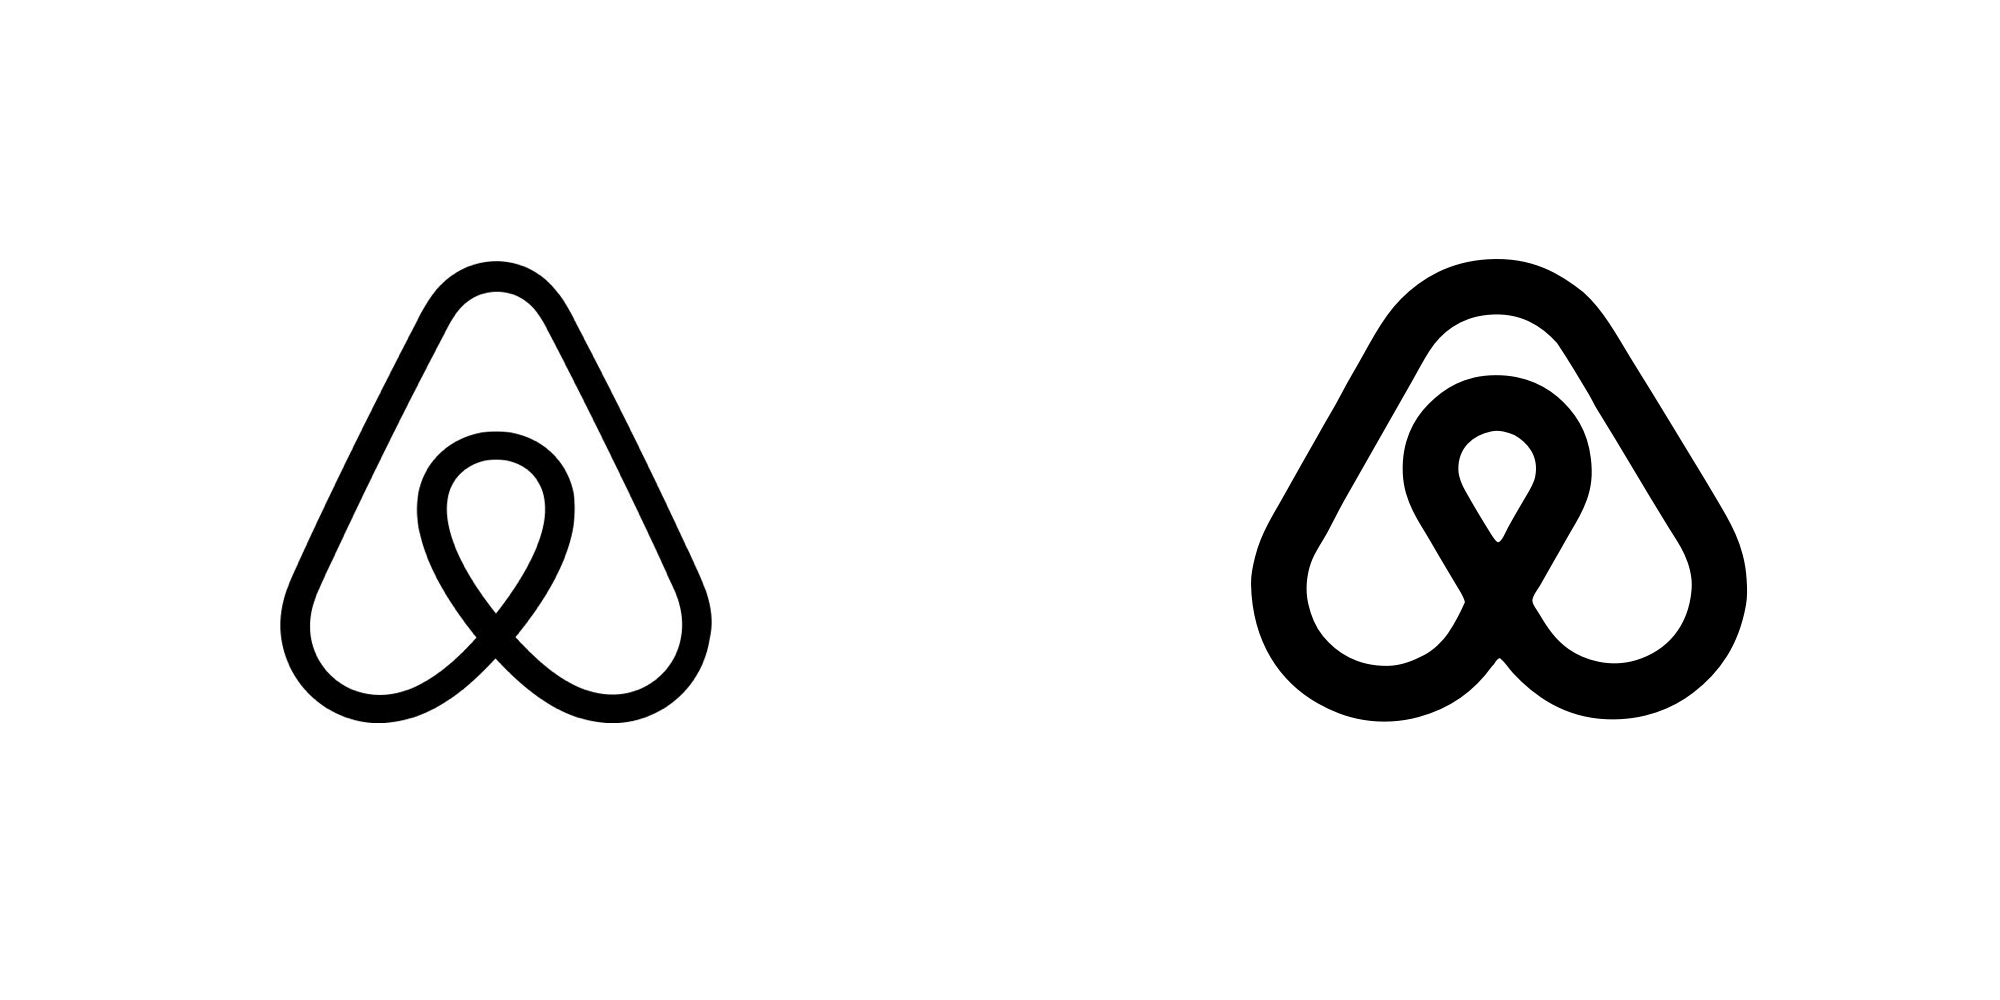
The Airbnb logo (2014, left) and the Azuma Drive-In logo (1975, right).
Image credit: Airbnb/Azuma Drive-In/Ferdinand Vogler
A logo should be unique amongst a brand’s competitors, but it doesn’t need to be completely unique in and of itself.
For example, Airbnb’s logo is almost identical to a logo designed for the Azuma Drive-In in Japan in the 1970s, and the Beats by Dr Dre logo is pretty much the same as the city identity for Brühl in Germany.
While plagiarising logos is obviously unacceptable (and there’s no suggestion that these examples were plagiarised), there are obviously a limited number of transformations that can be applied to letters of the alphabet, and designers are inevitably going to end up with similar results from time to time.
Myth 3: A logo is the same as a brand.
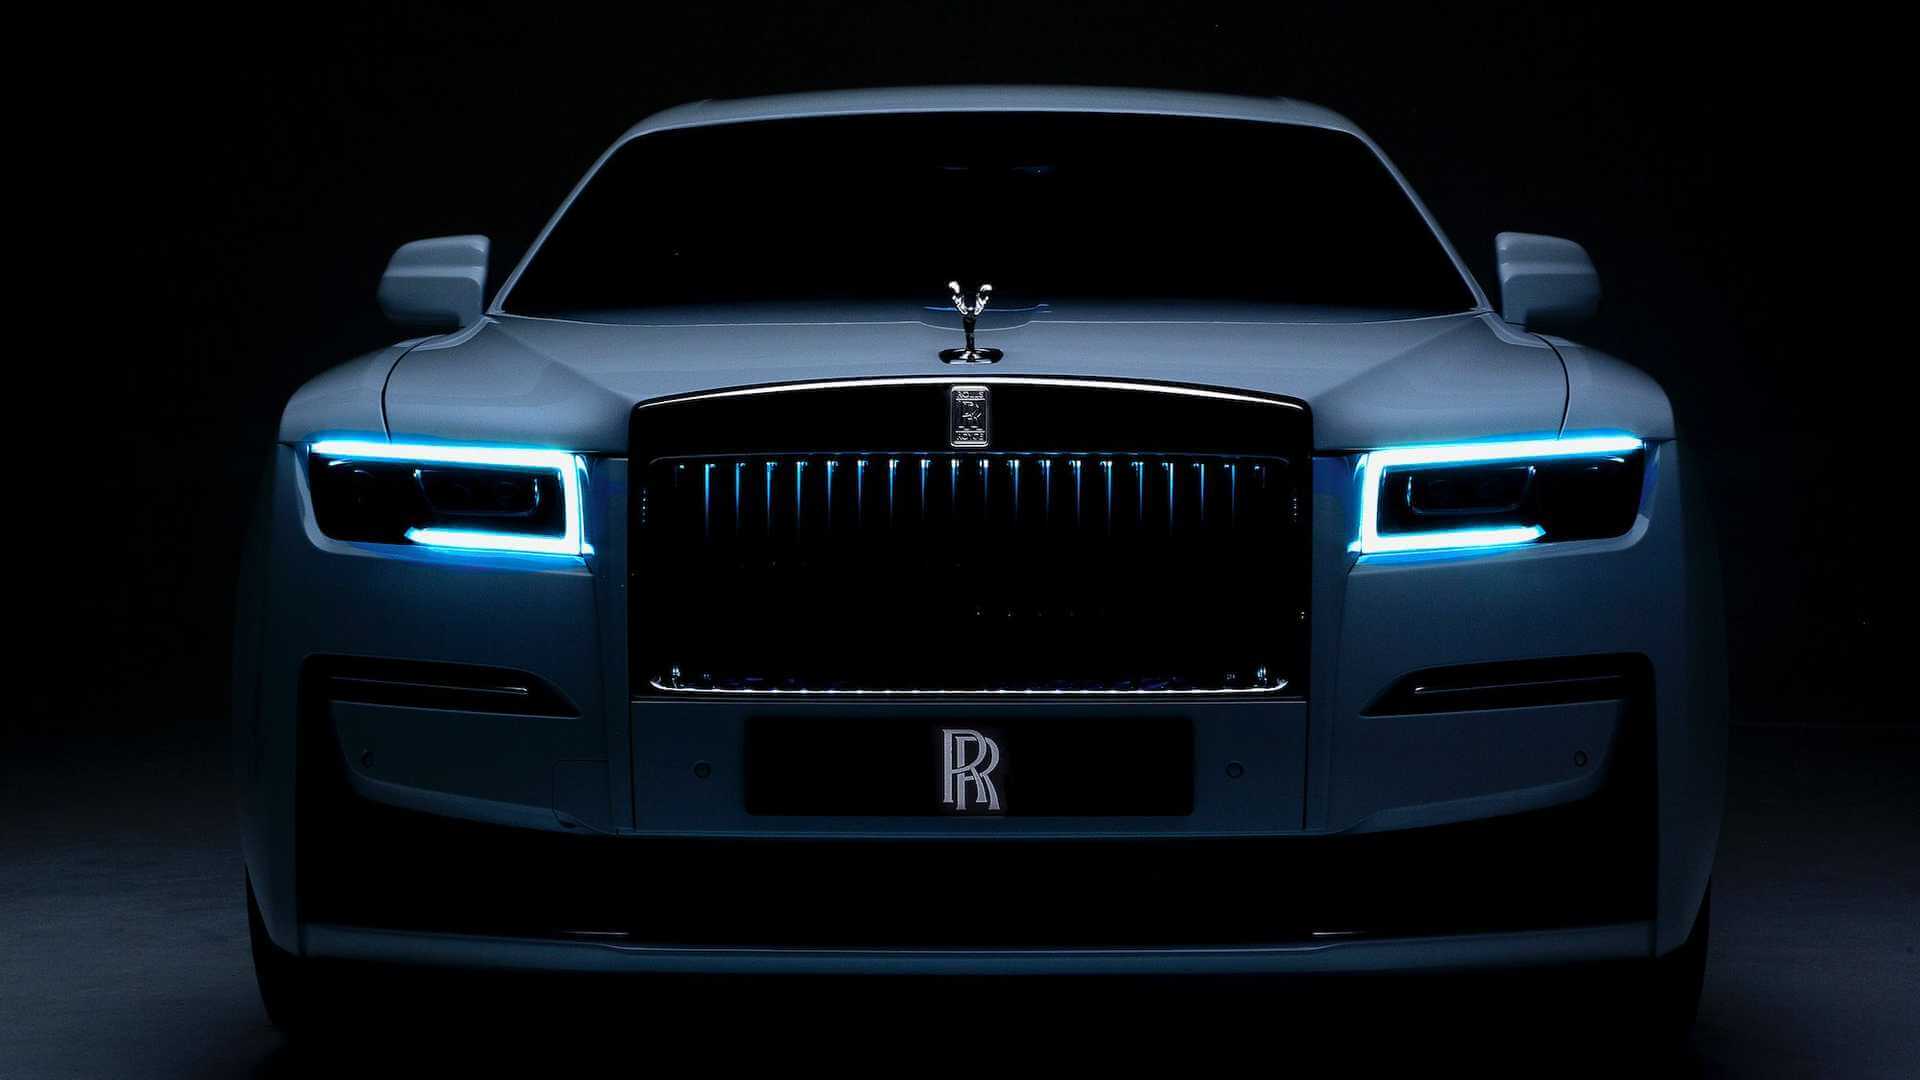
Image credit: Rolls-Royce
Remember that a logo is just one, albeit powerful, element of a brand.
It’s powerful because a good logo, used well, can evoke all the feelings and associations that someone has towards a brand.
But for those feelings and brand loyalties to emerge, the brand itself needs to deliver, and a logo can’t deliver any more than the company itself.
A five-step logo design process
Step 1: Understand the brand
The basic parameters of the brand should be established before starting work on a logo. That means the brand’s values, mission, and promise. One part of the brand identity also needs to be in place before work can begin on the logo — the brand name.
Of course, sometimes the work of developing a logo can help to clarify these wider aspects of the brand, sometimes even leading to a change of name. The process doesn’t have to be (and usually shouldn’t be) completely sequential.
Step 2: Explore ideas through sketching, research, and moodboarding
Sketching, research, and moodboarding are sometimes thought of as quite rigid steps in the graphic design process, with one following another in a different sequence, depending who you ask.
It can be valuable, though, to capture your “naive” initial ideas in response to the brief through sketching and note-taking. That’s because research and moodboarding will, by definition, lead you towards ideas that already exist.
Since it’s not possible to un-see or un-research something, having a record of your initial thoughts about a project can be very useful. Usually your first idea won’t be the best, but it does happen that way sometimes.
Research can take you wherever you choose. In branding projects for businesses and charities — which is almost all branding projects — an important kind of research is competitor analysis. This means studying other brands that will compete with the one you’re designing for. Analysing the competition can give you ideas for how to diffentiate the brand, and offer something visually distinctive through the logo.
In the logo design process, moodboarding is most useful once you have some ideas for how you want the logo to look and feel. For example, if your research and sketching leads you towards the keyword “geometric”, you can put together a moodboard of existing geometric logos and graphics.
Above all, the most important outcome from Step 2 should be lots of sketches for logo ideas, heading off in a range of different directions. The more variations you can explore, the more choice you will have in Step 3.
Step 3: Develop the strongest two or three ideas
Once you call time on your sketching, select the strongest two or three distinct logo ideas. In other words, they shouldn’t be small variations of a single idea — they should represent separate design ideas that you can eventually present to the client.
Then, develop each of these ideas further. You can continue this work on paper, and you can also begin to create digital versions. If you want to experiment with a lot of small changes, working on the computer can save time.
Step 4: Decide on a direction, and refine
When showing your logo ideas to the client, be able to articulate a clear idea behind each design. Once the client has signed off on a logo direction, refine the logo further on the computer by cleaning up and simplifying shapes and curves, and, if necessary, continuing to explore logo variations for further client feedback.
Step 5: Finalise and hand off to the client
Once the final logo graphic is signed off, you can export the design and wrap things up. (We’ll cover what’s involved here in the next few assignments.)
In conclusion...
In this assignment, we looked at some logo design myths, and covered a simple five-step process that will help you start designing your own logos.
Speaking of which, it’s time for you to begin your first guided brief of this course! Over the next nine assignments, you’ll work on designing an entire brand identity from scratch.
Each assignment is short and includes detailed instructions and tips. The idea behind all of the guided briefs that feature in Part 5 is to provide a dry run for the independent portfolio briefs you’ll be tackling in Part 6.